
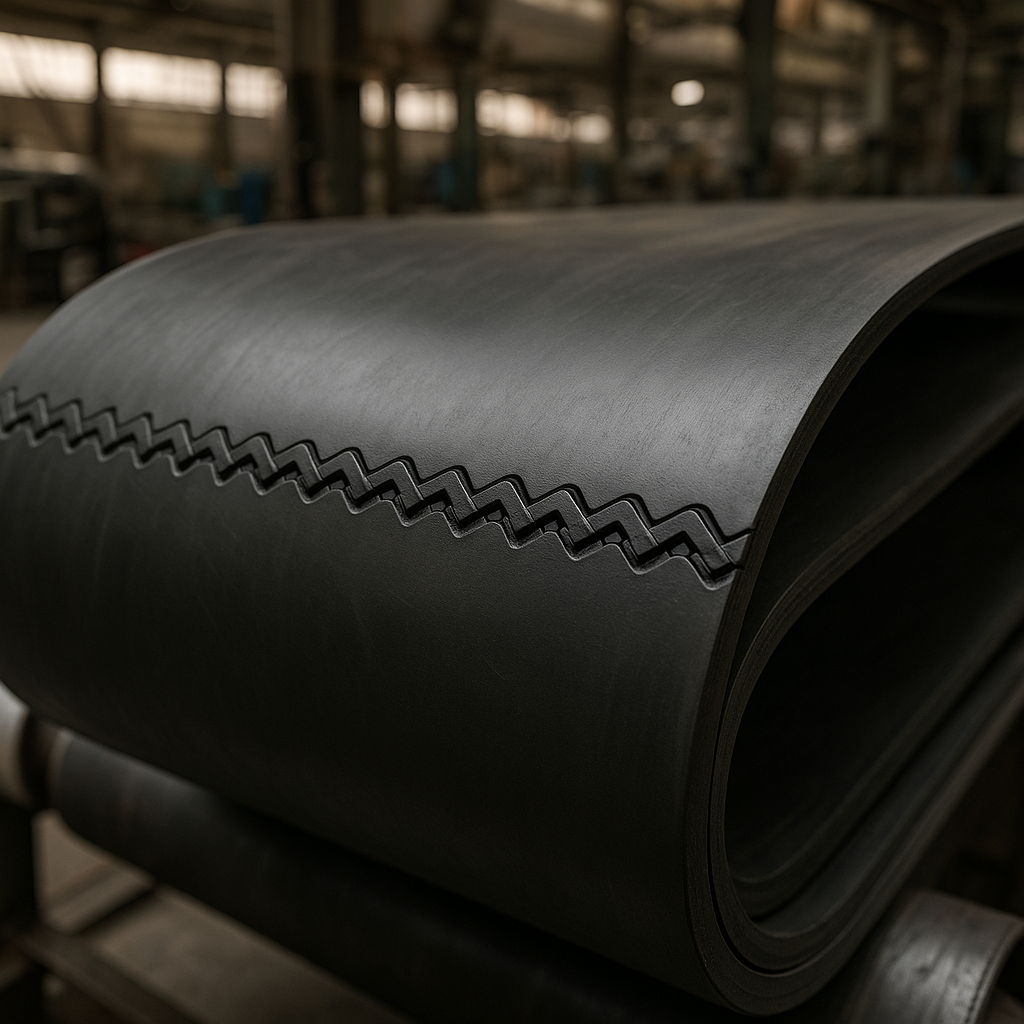
A snapped conveyor belt means your entire operation grinds to a halt. Every minute of downtime is money lost, schedules ruined, and pressure mounting. These sudden failures aren’t just costly; they introduce serious safety risks and can throw your entire production timeline into chaos. Imagine a reliable jointing method that you can perform on-site, quickly and effectively, creating a durable bond that gets you back up and running with minimal delay. Cold vulcanizing is that solution.
1. A reliable rubber conveyor belt jointing solution
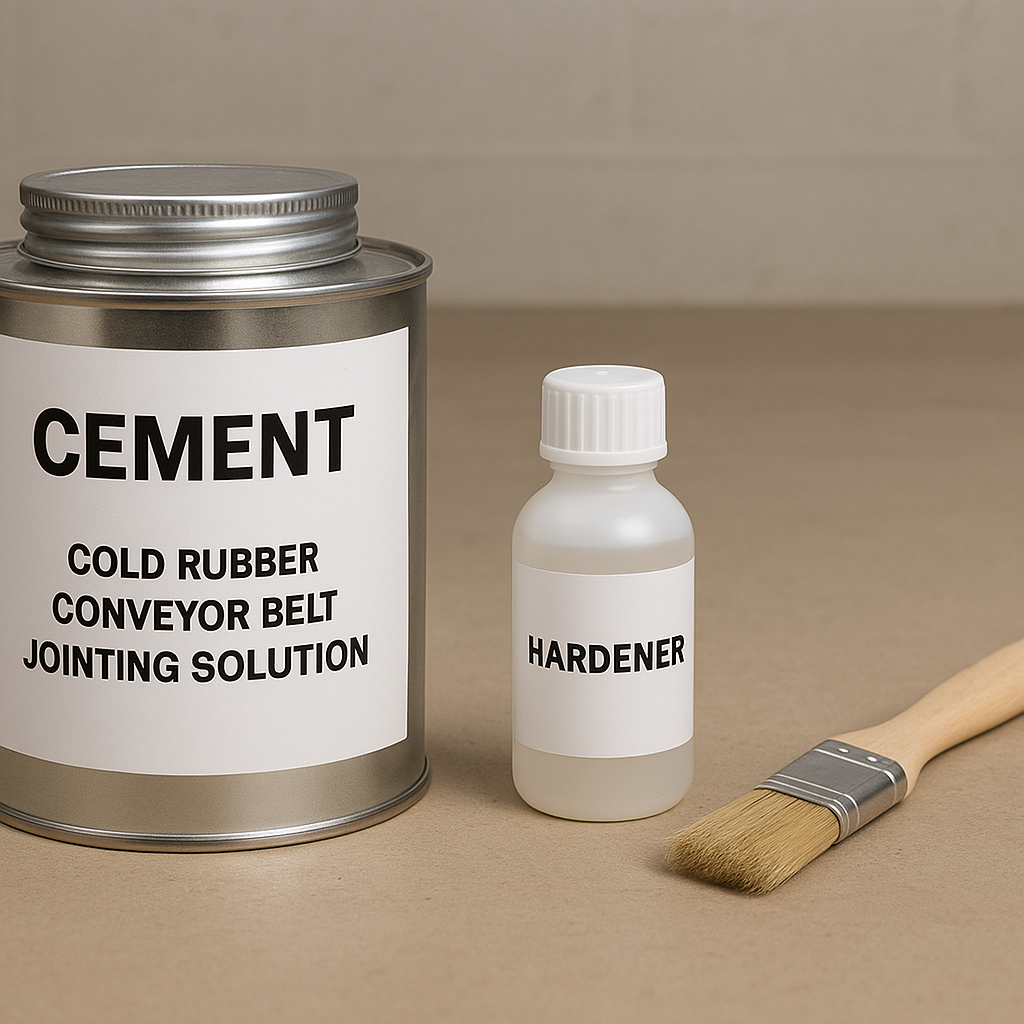
What is cold vulcanizing?
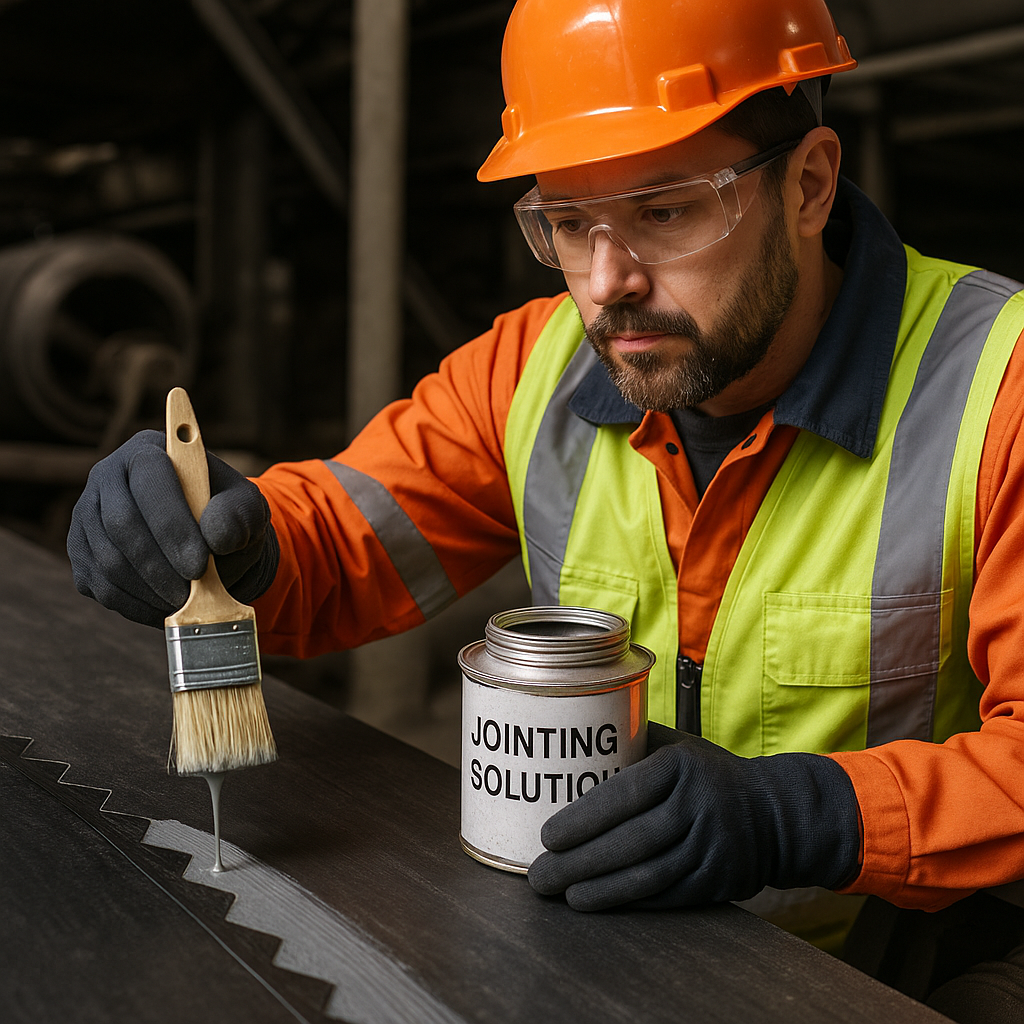
Cold vulcanizing is a process that uses a two-part chemical solution—a cement and a hardener—to create a powerful bond between two ends of a rubber conveyor belt. Unlike hot vulcanizing, it doesn’t require heavy, specialized heating presses.
Why choose this method?
You should consider this method for its speed and convenience. It’s an ideal solution for on-site repairs, especially in locations where bringing in bulky equipment is difficult or impossible. It significantly reduces downtime compared to other methods.
Key benefits for operations
The primary advantages are cost-effectiveness and efficiency. You avoid the high capital expense of hot vulcanizing equipment and can train your own maintenance team to perform splices, giving you more control over repair schedules.
| Aspect | Benefit | |
|---|---|---|
| Method | Chemical bonding without heat | |
| Advantage | Fast, on-site application | |
| Outcome | Reduced downtime and lower costs |
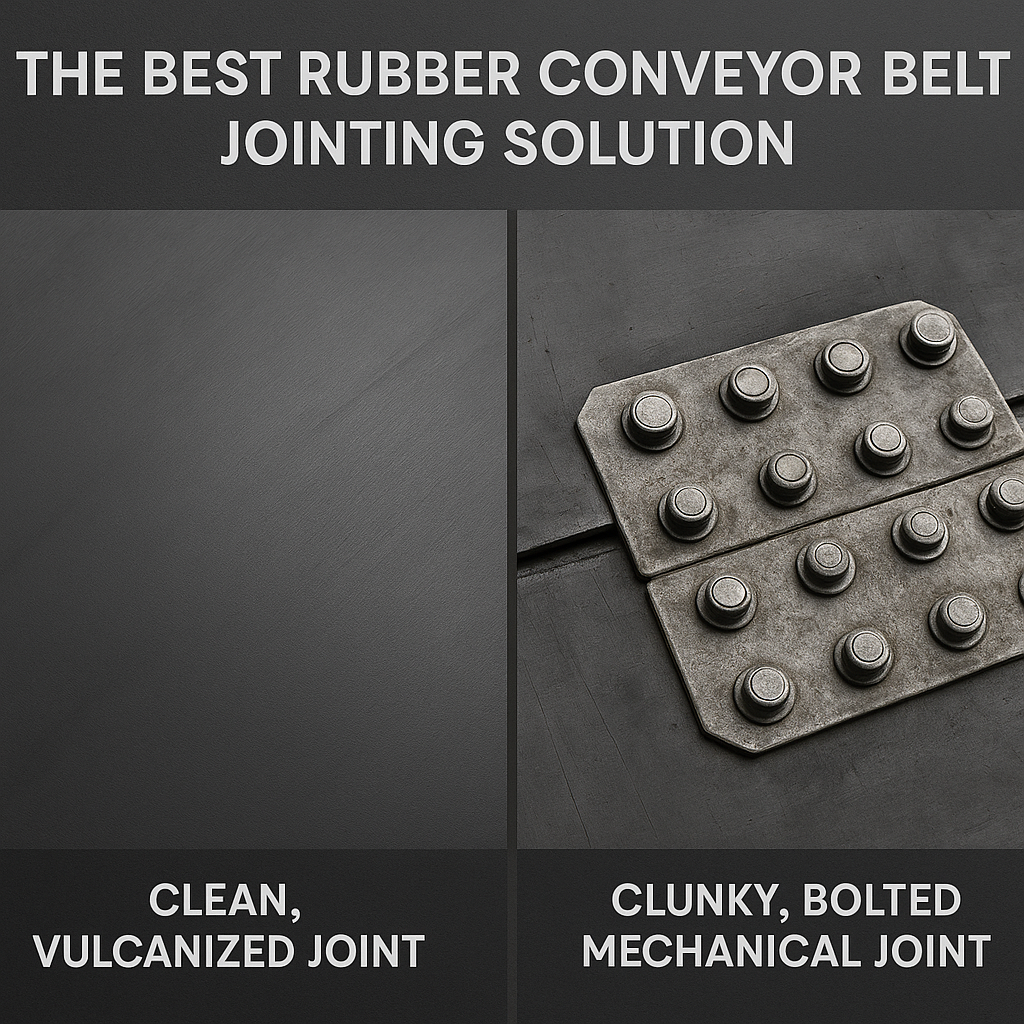
2. The best rubber conveyor belt jointing solution?
Comparing jointing methods
There are two main categories: vulcanized (hot or cold) and mechanical (metal fasteners). Mechanical joints are fast to install but can be noisy, wear out rollers, and create a weak point in the belt.
Mechanical vs. vulcanized joints
Vulcanized joints create a seamless, durable splice that becomes part of the belt itself. This results in a stronger, longer-lasting joint that moves smoothly over pulleys and idlers, protecting your conveyor system.
Where does cold bonding excel?
Cold bonding is the perfect middle ground. It offers the durability and smooth profile of a vulcanized joint but with the speed and on-site convenience closer to that of a mechanical fastener solution.
| Joint Type | Pro | Con | |
|---|---|---|---|
| Cold Vulcanized | Strong, smooth, cost-effective | Requires cure time | |
| Mechanical | Very fast installation | Noisy, wears components | |
| Hot Vulcanized | Strongest possible bond | Expensive, requires special equipment |
3. Cold rubber conveyor belt jointing solution guide
The science of cold vulcanizing
This isn’t just glue. Cold vulcanizing creates a chemical reaction. The cement primes the rubber surfaces, while the hardener initiates a cross-linking process, fusing the rubber molecules together into a single, robust piece.
Understanding the chemical process
When mixed, the cement and hardener work together to achieve polymerization. This creates a bond with high elasticity and strength, allowing the splice to withstand the constant stretching and flexing of conveyor operation.
Key components: Cement and hardener
The two parts are designed to be used together. Never mix components from different systems. The ratio of cement to hardener is critical for achieving the correct chemical reaction and bond strength.
| Component | Role | Importance | |
|---|---|---|---|
| Cement | Primes the rubber surface | Prepares molecules for bonding | |
| Hardener | Initiates cross-linking | Creates the strong, permanent bond | |
| Correct Ratio | Ensures proper chemical reaction | Guarantees splice integrity |
4. Prep for this rubber conveyor belt jointing solution
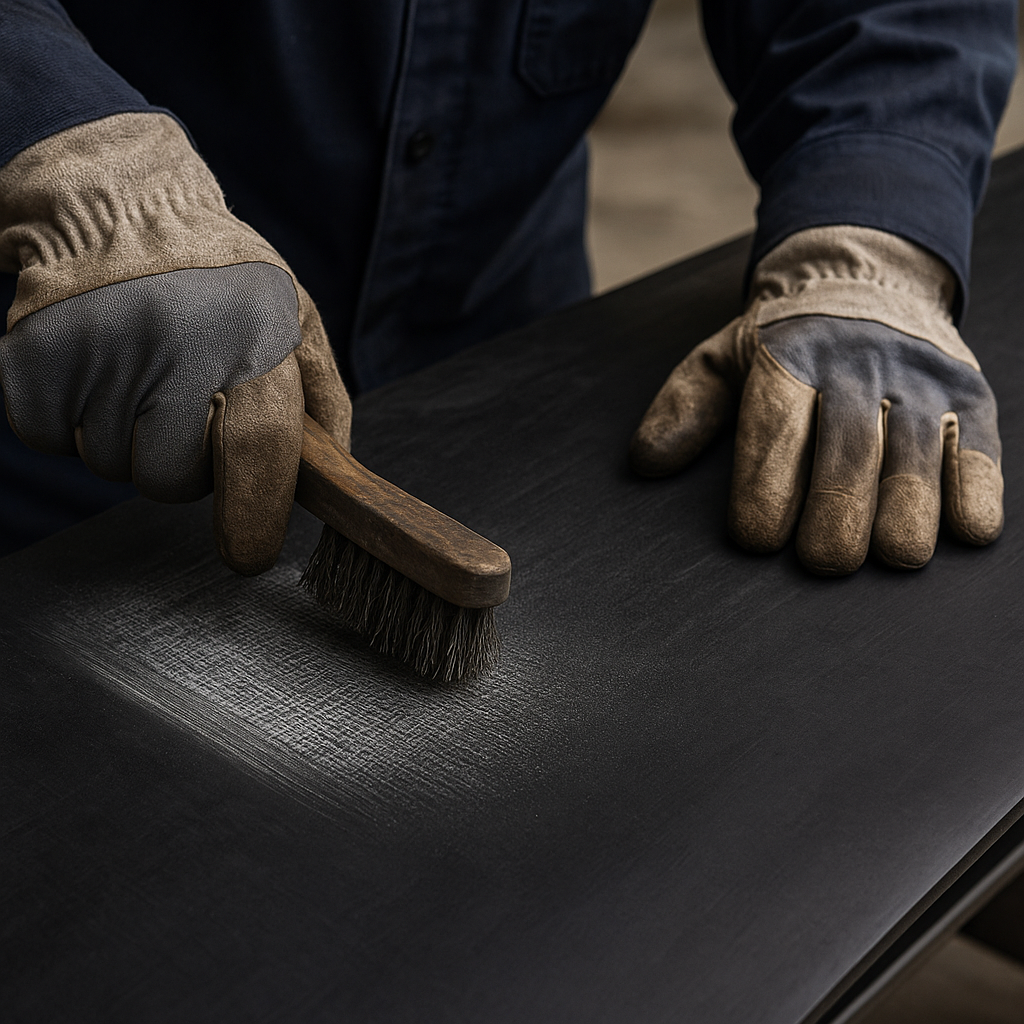
Step 1: Cleaning the belt surface
Contamination is the enemy of a good splice. You must thoroughly clean the splice area to remove all dirt, grease, and moisture. Use a specialized cleaning solvent for the best results.
Step 2: Creating the splice steps
For multi-ply belts, you’ll cut steps into each belt end. This increases the surface area for bonding and ensures a smooth, tapered transition, which is crucial for durability.
Why is surface texture important?
After cleaning, you need to buff the rubber surface to create a rough, “velvety” texture. This texture dramatically increases the surface area and gives the cement something to grip onto, ensuring maximum adhesion.
| Step | Action | Purpose | |
|---|---|---|---|
| Cleaning | Remove all contaminants | Prevent bond failure | |
| Stepping | Cut layers in the belt ends | Increase surface area and smooth transition | |
| Buffing | Create a rough texture | Maximize adhesion for the cement |
5. Applying the rubber conveyor belt jointing solution
Proper cement and hardener mixing
Thoroughly mix the specified amount of hardener into the cement for at least one minute. An improper mix is one of the most common causes of splice failure. Once mixed, the solution has a limited pot life, so you must work efficiently.
How many coats are needed?
Typically, you will apply two thin, even coats. The first coat acts as a primer for the buffed rubber. The second coat builds the foundation for the chemical bond.
Applying the first and second coats
Apply the first coat and let it dry completely—until it’s tacky to the touch but doesn’t transfer to your knuckle. Then, apply the second coat and let it dry to the same state before joining the belt ends.
| Action | Detail | Key Takeaway | |
|---|---|---|---|
| Mixing | Mix cement and hardener thoroughly | Pot life is limited; work quickly. | |
| First Coat | Apply a thin layer and let dry fully | Acts as a primer for the rubber. | |
| Second Coat | Apply after first coat is dry; let dry | This is the main bonding layer. |
6. Curing the rubber conveyor belt jointing solution
What is the ideal curing time?
Curing time allows the chemical reaction to complete, building the bond’s final strength. While a belt can often be run after a few hours, a full cure can take up to 24 hours. Always check the manufacturer’s specific guidelines.
Factors affecting cure duration
Temperature and humidity play a huge role. Higher temperatures generally speed up curing, while cold, damp conditions can slow it down significantly. Plan your repairs accordingly.
Testing the bond strength
While you can’t non-destructively test the final tensile strength, you can inspect the splice seams. Look for any lifting or gaps. The joint should appear seamless and feel completely fused together.
| Factor | Description | Impact on Curing | |
|---|---|---|---|
| Time | Varies by product; typically 2-24 hours | Follow instructions for best results. | |
| Temperature | Ambient and belt temperature | Warmth speeds it up; cold slows it down. | |
| Humidity | Moisture in the air | High humidity can hinder the chemical process. |
7. Hot vs Cold rubber conveyor belt jointing solution
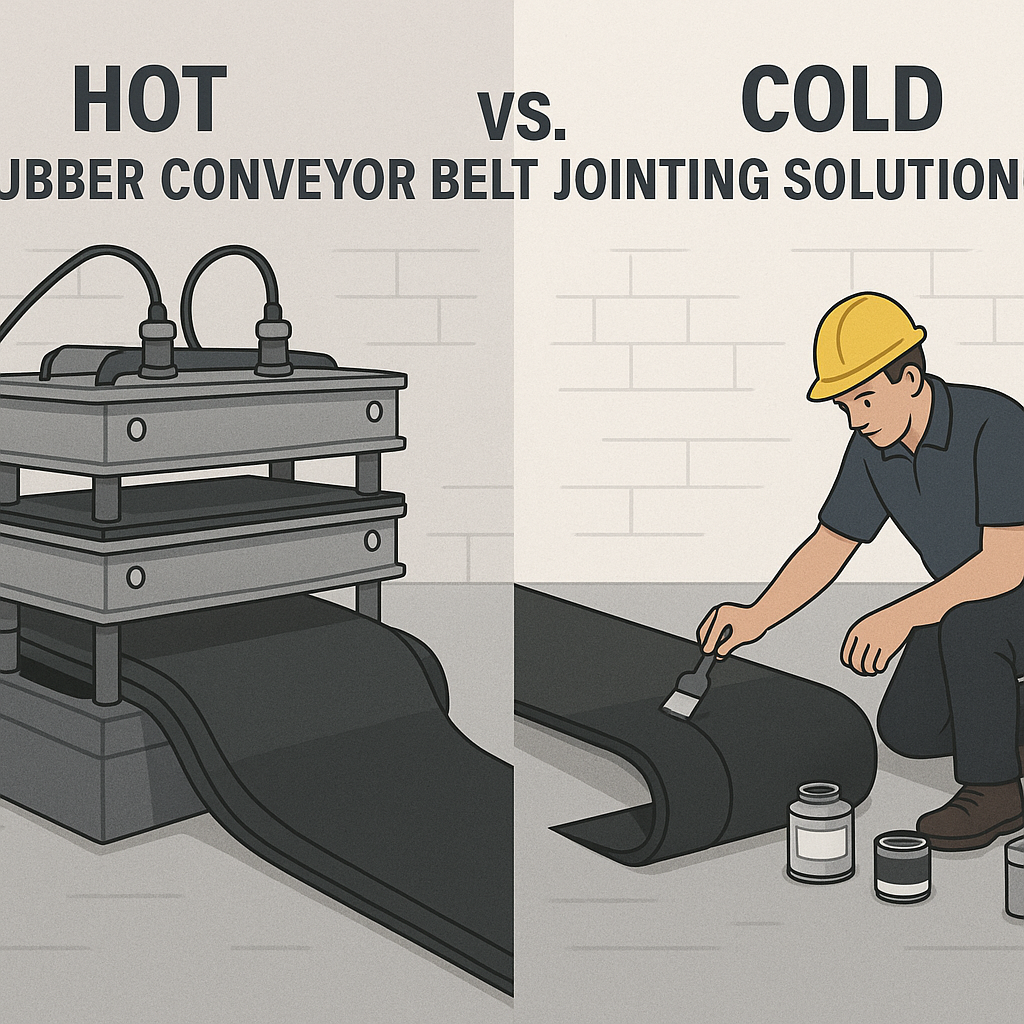
A comparison of speed and cost
Cold vulcanizing is significantly faster and cheaper. It eliminates the need for a vulcanizing press, which is expensive to buy and transport, and requires less time for setup and cooling.
Equipment and skill differences
Hot vulcanizing requires certified technicians and heavy machinery. Cold splicing, on the other hand, can be performed by a trained in-house maintenance crew with a basic set of hand tools.
Which joint lasts longer?
A perfectly executed hot splice generally offers the highest possible strength and durability. However, a well-done cold splice provides excellent longevity (often 70-80% of a hot splice’s strength) and is far superior to any mechanical fastener.
| Method | Speed & Cost | Equipment | Durability | |
|---|---|---|---|---|
| Cold Splice | Fast and low-cost | Hand tools | Very good | |
| Hot Splice | Slow and high-cost | Heavy press | Excellent (longest lasting) |
8. Tools for this rubber conveyor belt jointing solution
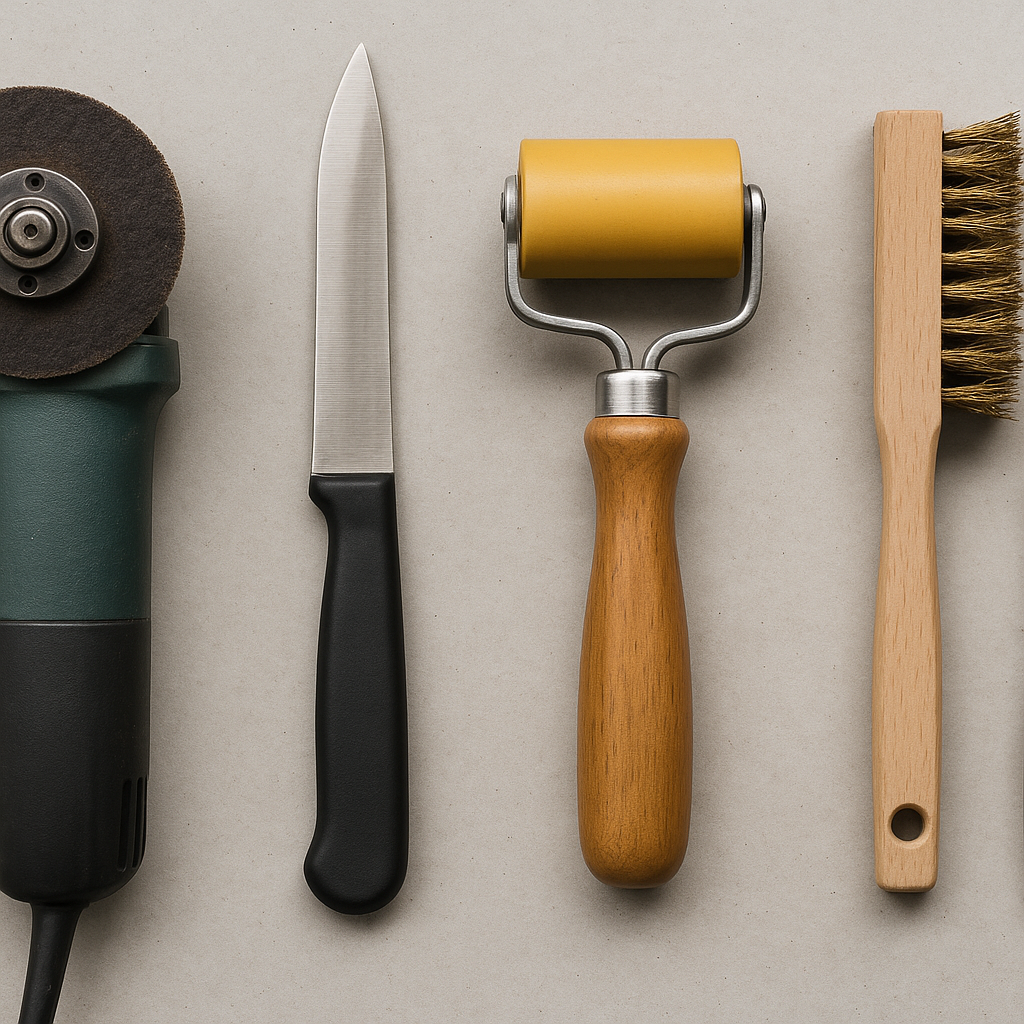
Essential hand tools for splicing
You don’t need a massive toolkit. The essentials include a sharp cobbler’s knife for cutting the belt, a wire brush for cleaning, and a paintbrush for applying the cement.
Do you need a pressure roller?
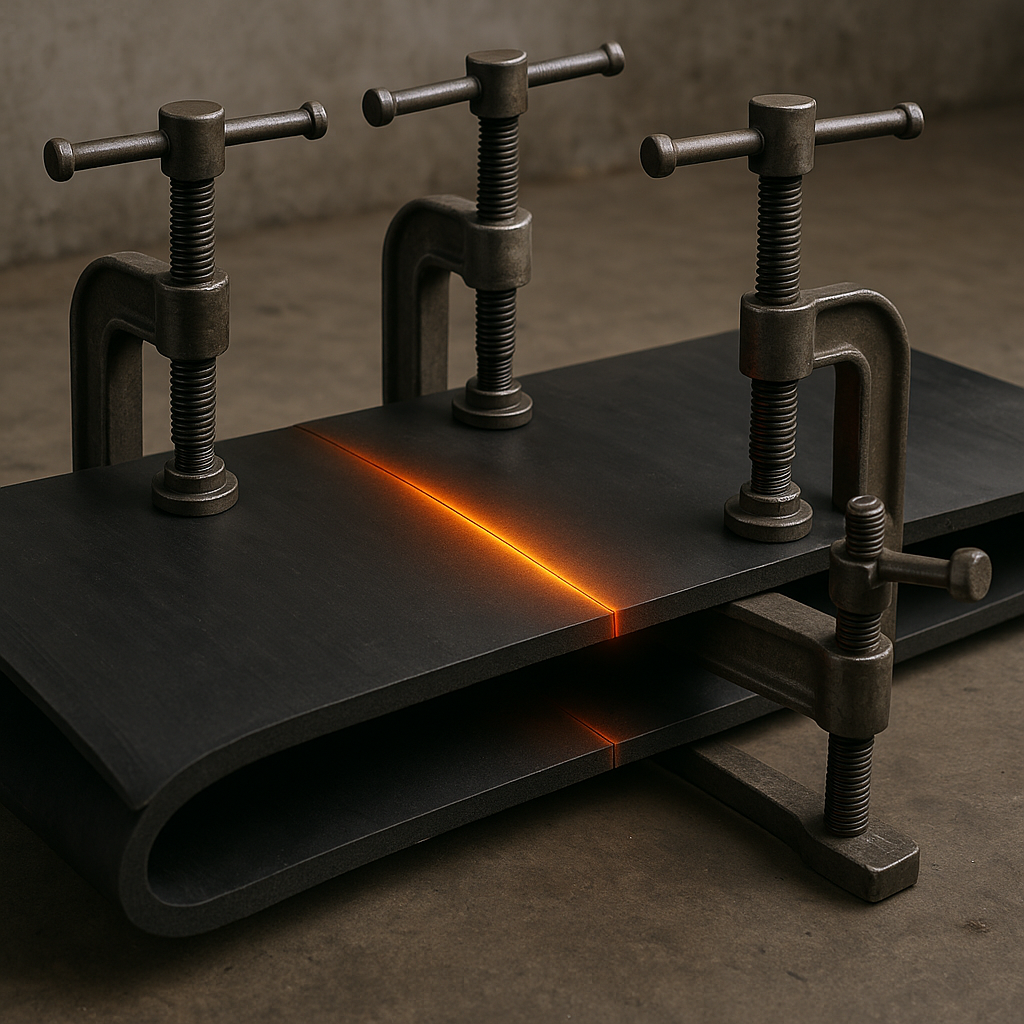
Yes. A pressure roller is not optional. After joining the two ends, you must use a roller to apply firm, consistent pressure from the center of the splice outwards. This removes trapped air bubbles and ensures full contact between the bonding surfaces.
Grinding and buffing equipment
An angle grinder with a wire wheel or special buffing disc is essential for creating the ideal surface texture. This step is critical for ensuring the cement can achieve a powerful grip on the rubber.
| Tool | Function | Why It’s Essential | |
|---|---|---|---|
| Angle Grinder | Buffs the rubber surface | Creates texture for maximum adhesion. | |
| Knife/Brush | Cuts belt and applies cement | Basic preparation and application. | |
| Pressure Roller | Removes air bubbles | Ensures 100% surface contact for a strong bond. |
9. Safety with this rubber conveyor belt jointing solution
Handling chemical agents safely
The cements and hardeners are industrial chemicals. Always read the Safety Data Sheet (SDS) before use. Avoid direct skin contact and never mix components near an open flame or heat source.
Personal Protective Equipment (PPE)
Proper PPE is non-negotiable. This includes:
- Safety glasses to protect from splashes.
- Chemical-resistant gloves (e.g., nitrile) to protect your hands.
- A respirator with organic vapor cartridges, especially in enclosed spaces.
Ventilation and fire risks
These solutions release flammable vapors. Ensure your work area is extremely well-ventilated to prevent vapor buildup. Prohibit all smoking, welding, and other ignition sources in the vicinity.
| Precaution | Item(s) | Reason | |
|---|---|---|---|
| PPE | Goggles, gloves, respirator | Protect eyes, skin, and lungs from chemicals. | |
| Ventilation | Fans, open doors, outdoor work | Disperse harmful and flammable vapors. | |
| Ignition Sources | No smoking, sparks, or flames | Prevent fire or explosion. |
10. Choosing a rubber conveyor belt jointing solution

Factors for your application
Consider your belt’s type, tension rating, and operating conditions. For high-tension, high-heat, or critical mainline belts, a hot splice might be necessary. For most other applications, cold splicing is an excellent choice.
Assessing operational needs
Do you need a quick repair to minimize downtime, or can the belt be down for a longer period? Is the repair location easily accessible with heavy equipment? Your answers will point you toward the right solution.
When to call a professional
If you are unsure about the process, dealing with a very high-tension belt, or simply lack the trained personnel, it’s always best to call a professional splicing service. A failed splice is far more costly than getting it done right the first time.
| Consideration | Question to Ask | Recommendation | |
|---|---|---|---|
| Application | What are the belt’s tension and conditions? | High tension may require a hot splice. | |
| Operation | How critical is minimizing downtime? | Urgent needs favor cold splicing. | |
| Expertise | Does my team have the right training? | If in doubt, call a professional. |
Conclusion
Choosing the right rubber conveyor belt jointing solution is critical for your operational reliability. Cold vulcanizing offers a powerful combination of strength, speed, and cost-effectiveness, making it an indispensable tool for modern maintenance teams. It empowers you to handle repairs quickly and efficiently on-site, drastically reducing costly downtime.
Ready to minimize downtime? Contact a conveyor solutions specialist today to discuss the right cold vulcanizing products for your specific application.
Frequently Asked Questions (FAQ)
- Can I use cold vulcanizing cement on any rubber belt?Most cold vulcanizing solutions are designed for standard fabric-ply rubber belts (e.g., SBR, NR). For special types like PVC or steel cord belts, you will need a specialized product. Always check compatibility.
- What’s the best temperature for applying the solution?Ideally, you should work in temperatures between 15°C and 25°C (60°F to 77°F). Avoid applying in direct sunlight or in temperatures below 5°C (41°F), as this can severely impact curing.
- How do I know if the joint is cured and ready?The most reliable method is to follow the manufacturer’s recommended curing time based on ambient temperature. While the bond forms quickly, full strength is achieved over several hours. For non-critical applications, a light run may be possible after 2-4 hours.
- What is the typical lifespan of a cold vulcanized splice?A properly executed cold splice can last for years and often matches the service life of the belt itself. Its longevity depends on correct application, belt tension, and operating conditions.
- Can I repair a failed cold splice with more cement?No. You cannot simply apply more cement over a failed joint. The entire splice must be cut out, and the jointing process must be started again from the beginning with proper cleaning and buffing of fresh belt material.